Interested in smoking your own cheese? Follow this guide to cold smoke cheese in only a few minutes — but for the best results, you will need to have patience for a week or two.
While you can buy smoked cheese at most supermarkets, you can’t control the overall flavor, depth, or intensity. However, if you’re willing to make it yourself, you can control just how deep and smokey your cheese becomes. It can also make a great gift for loved ones over the holidays.
You don’t need much to start, either. If you’re working on a batch of cheese, a cold smoking cabinet is an excellent investment. But all you need for cold smoking at home is an outdoor container, drum, barbeque, or kettle, and a gadget able to slowly burn wood chips or pellets for you.
What do I need to cold smoke cheese?
- Cheese: Hard or semi-hard varieties work best. I find that cheaper cheeses tend to absorb smoke most quickly and I usually buy cheap, large blocks of cheddar for smoking. Cheddar, Gouda, Pepper Jack, and similar options are great choices. If you’ve picked an option with a rind, consider removing it to impart the smokey flavor on all sides.
- Smoker or smoke generator: A smoker with an adjustable cold smoke generator or a grill that can be set for cold smoking. Failing that, a kettle or smoker (preferably with air vents) will work, together with a cold smoking accessory.
- Smoking wood, wood chips: Mild wood chips like apple, cherry, or hickory. If you use smoking wood or chips that are too strong, you risk overpowering the cheese.
Why cold smoke?
Cold smoking not only imparts flavor but can also be used to preserve foods for longer. You can cold smoke cheese, fish, meat, nuts, and more.
Cold smoking in five easy steps

- Prepare your cheese
For the best possible return on your smoking time, cut your cheese into smaller chunks. Place them on your kettle or smoker’s rack, or use a dedicated wire rack if you have one.
2. Load up your pellet tube or cold smoke generator
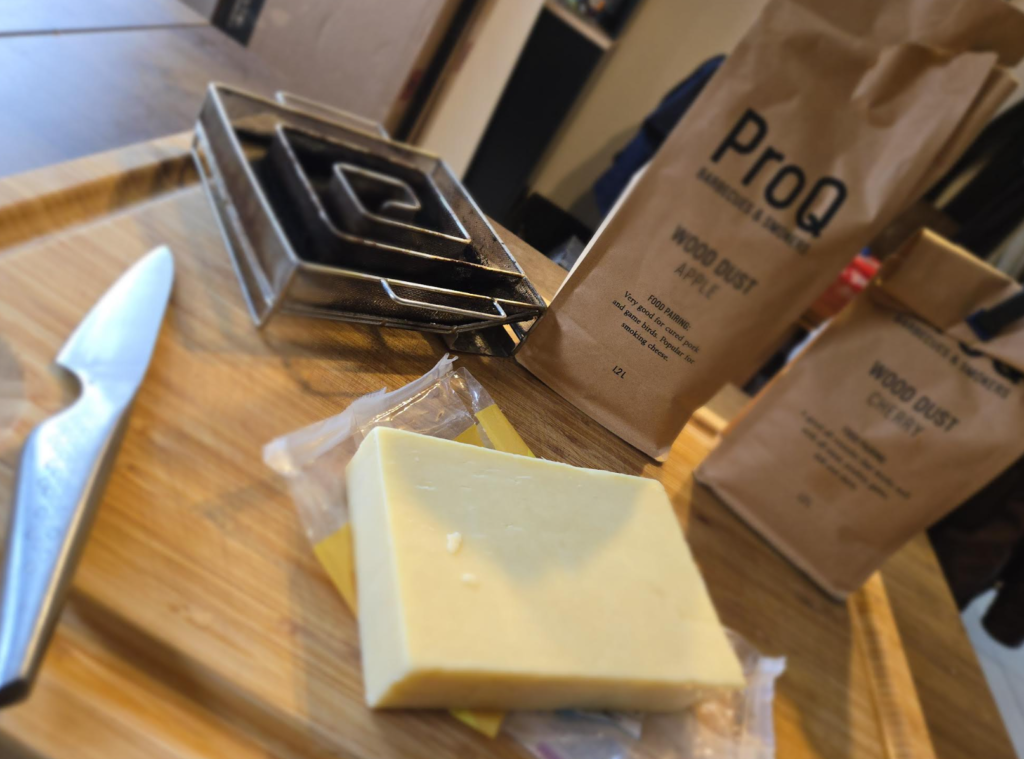
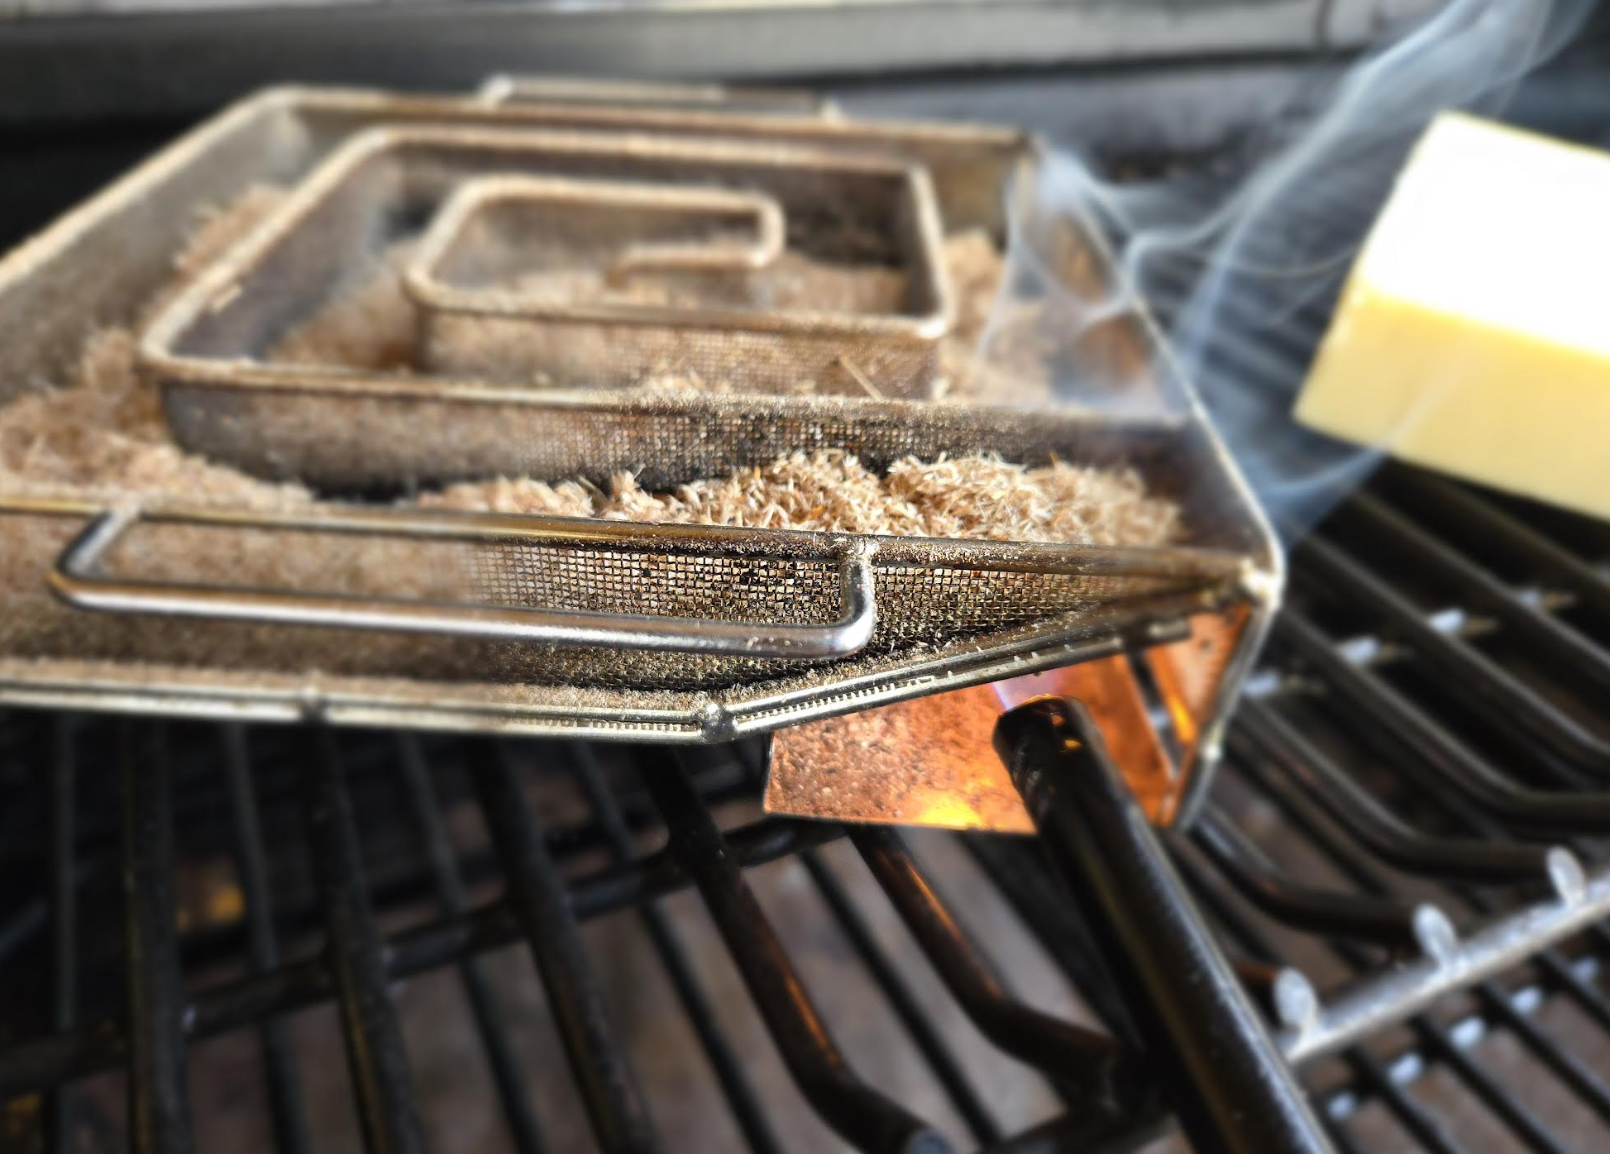
My current favorite is the Pro-Q Cold Smoke Generator, available for between $30 and $40 (UK: £35.99). These small, maze-like gadgets slowly burn wood chips, giving you hours of smoke without flame. In this example, I used Pro-Q Apple Wood Dust. Alternatively, use hardwood pellets or wood chips of your choice.
3. Start the process

Remember, we don’t want heat to interfere with the cheese smoking process. Keep your smoker off and light one end of your cold smoke generator or pellet tube. Wait several minutes until you have a steady flame, then extinguish it if necessary. Ensure that your pellets or dust are smoking without an open flame.
4. Close the lid and let the magic happen
If your chosen container has no vent, open the lid slightly. If you leave the smoke in there for hours with no escape, this can lead to an acrid, unpleasant taste. It’s important that the smoke can circulate.
5. Check every so often, return in a few hours
When you come back is up to personal preference, although I like to smoke for around three hours. I do, however, check it every so often to ensure my wood chips are still burning. Remove and leave your cheese on the side in the kitchen for at least an hour for moisture to have a chance to evaporate. I gently use a paper towel, too.
At this point, you might (..will) be tempted to try it out. However, it’s best to wrap it in parchment/butcher paper (or cling film/Saran wrap if you don’t have any) and leave it for at least 24 hours. Parchment paper is the best option, but for casual cold smokers, use whatever you have to hand. For the best results, leave your smoked cheese for a week or so to fully mellow out.
Tips from cold smokers across social media
- When you light your smoke generator or pellet tube, keep the lit edge away from your cheese. The last thing you want is a concentration of heat (however low) or embers spoiling your cheese.
- Consider using ice to your advantage. Ice in a small foil tray can minimize heat and improve your product by stopping any sweating or melting.
- To flip or not? Some say every 30 minutes; others don’t bother. I like to do so every 30 minutes or so, but it is up to you.
- Don’t forget to rest your cheese. The longer you leave it in the fridge, the deeper the flavor (within reason). Some leave it up to three weeks for the best flavor.
- If you’re not going to eat all of your cheese quickly, vacuum seal and date your creations for longevity. Some BBQ enthusiasts like to vacuum seal or ziplock bag 24 – 48 hours after its initial 24 rest for weeks afterward.
- Keep in mind your fridge may smell smokey during this process.
- Consider smoking salt at the same time!
- Does cream cheese work? Yes! Watch this space for a how-to guide in the near future.


